How To Cut Solid Surface Countertop: A Complete DIY Step-by-Step Guide
Solid surface countertops, commonly known by the brand name Corian, are popular kitchen and bathroom materials valued for their seamless appearance, non-porous surface, outstanding durability, and easy maintenance. Unlike natural stone, solid surface material is workable for DIY cutting and shaping, allowing homeowners to customize countertop sizes, create cutouts for sinks and stoves, and adjust edges for perfect installation. However, its dense acrylic-resin composition requires specific tools, precise techniques, and careful handling to avoid cracks, chipping, burnt edges, or uneven cuts. This professional yet beginner-friendly guide walks you through every step to cut a solid surface countertop cleanly and safely.
1. Gather Required Tools & Safety Gear
Using the right tools is the foundation of a smooth, flawless cut. Improper blades or equipment will scratch, melt, or crack the
solid surface material. Below is the complete tool list for straight cuts, curved cutouts, and finishing:
Cutting Tools
Circular saw or track saw: Ideal for long, straight cuts; a track saw delivers superior precision for large countertop slabs
Jigsaw: Perfect for curved cuts, sink cutouts, and small irregular openings
Carbide-tipped fine-tooth blade: 60-tooth or higher blades are mandatory. Avoid rough, low-tooth blades, which cause chipping and jagged edges
Router with straight bit: For trimming and smoothing rough cut edges after sawing
Measuring & Fixing Tools
Tape measure, fine-tip pencil, and aluminum straightedge for accurate marking
Masking tape to protect the countertop surface and prevent blade slippage
Soft-jaw clamps to secure the countertop without scratching the finish
Finishing Tools
Sandpaper in 120, 220, and 320 grit for progressive edge smoothing
Microfiber cloths and water for cleaning dust and debris
Safety Equipment
Safety goggles, dust mask, and ear protection
Cut-resistant gloves to avoid hand injuries from sharp edges and tools
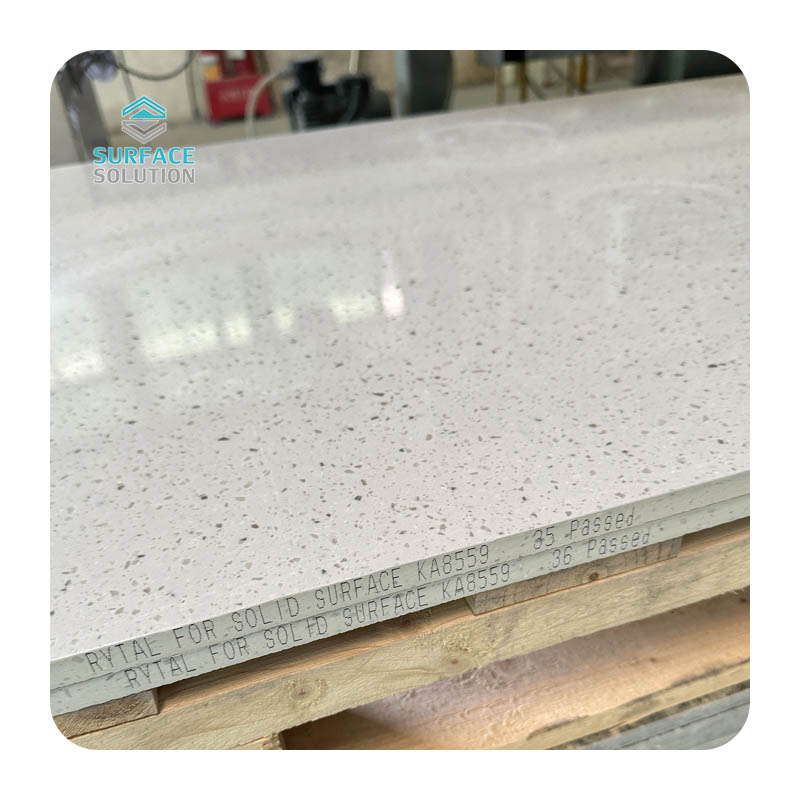
2. Pre-Cutting Preparation (Critical for Clean Results)
Solid surface is prone to chipping and heat damage, so thorough preparation is non-negotiable before making any cuts.
First, take precise measurements of your required countertop size and mark the cut lines clearly on the
finished top surface with a pencil and straightedge. Double-check all measurements twice—
solid surface cannot be easily patched if over-cut. Next, apply a layer of masking tape along the entire cut line. This simple step prevents surface scratches, reduces blade friction, and eliminates edge chipping during cutting.
Place the countertop on a stable, flat workbench. Ensure the cutting area hangs slightly over the edge of the bench to avoid cutting into the work surface. Secure the slab tightly with multiple soft-jaw clamps along both sides of the cut line. Any minor movement or vibration during cutting will cause the saw blade to wander, resulting in uneven cuts or cracks. For large countertops, add extra support to the waste section to prevent it from dropping suddenly mid-cut, which can split the material.
3. Master Cutting Techniques for Different Cuts
Straight Cuts (Main Countertop Sizing)
Set your circular saw blade depth to approximately 1/8 inch deeper than the countertop thickness. This ensures a full, clean cut without excessive blade contact that generates heat. Align the saw blade right along the outer edge of your marked line, leaving a tiny 1/16 inch margin for final sanding and trimming.
Start the saw and let it reach full speed before touching the material. Cut with a steady, consistent pace—do not rush or pause midway. Fast cutting causes blade overheating and melted, discolored edges, while slow cutting creates excessive friction and rough surfaces. Never stop the saw during a full cut, as this leaves permanent witness marks that are hard to remove. Once the cut is complete, let the waste piece fall gently with full support.
Curved Cuts & Cutouts (Sinks, Outlets)
For curved edges, sink cutouts, or small rectangular openings, switch to a jigsaw with a fine-tooth solid-surface blade. First, drill a ½-inch pilot hole inside the waste area of your marked cutout to insert the jigsaw blade. This avoids drilling holes on the finished countertop surface.
Move the jigsaw slowly and follow the curved line gently. Avoid forcing the blade to bend, as this will warp the cut edge or crack the solid surface. Keep consistent speed and let the blade do the work. For tight corners, make small incremental cuts instead of sharp turns to maintain smooth edges.
4. Edge Finishing & Polishing
Freshly cut solid surface edges are always rough and slightly uneven. Proper finishing restores the material’s smooth, seamless texture and readies the countertop for installation.
Start with 120-grit sandpaper to remove saw marks, burrs, and minor unevenness. Sand along the length of the edge with long, steady strokes—never sand crosswise, which creates scratch lines. Next, move to 220-grit sandpaper to refine the surface, then finish with 320-grit ultra-fine sandpaper for a silky-smooth finish. For a professional glossy look, you can use a polishing compound after fine sanding.
Wipe the entire countertop surface with a damp microfiber cloth frequently during sanding to remove dust buildup. Residual dust particles will create tiny scratches if left on the surface during polishing. If edges are extremely uneven, use a router with a straight bit to trim them uniformly before sanding.
5. Key Tips to Avoid Common Mistakes
Avoid overheating: Heat is the biggest enemy of solid surface. Never force the saw or make repeated passes over the same area, as this melts the acrylic resin and causes permanent discoloration
No mid-cut stops: Pausing during cutting leaves visible indentations and uneven lines that cannot be fully repaired
Always support waste material: Unsupported falling sections will crack the main countertop slab along the cut line
Never use abrasive blades: Rough wood-cutting or masonry blades chip and tear the solid surface finish
Sand progressively: Skipping grit steps results in visible scratches and a dull final finish
6. Final Thoughts
Cutting a solid surface countertop is a DIY-friendly project with the right tools, patience, and precise techniques. Unlike rigid natural stone, solid surface allows for flexible customization, and minor imperfections can be fixed with sanding and polishing. By following the step-by-step process above—accurate marking, stable clamping, steady cutting, and progressive finishing—you can achieve clean, smooth, professional-grade cuts that fit your kitchen or bathroom layout perfectly. Always prioritize safety and take your time; precision is far more important than speed when working with solid surface materials.


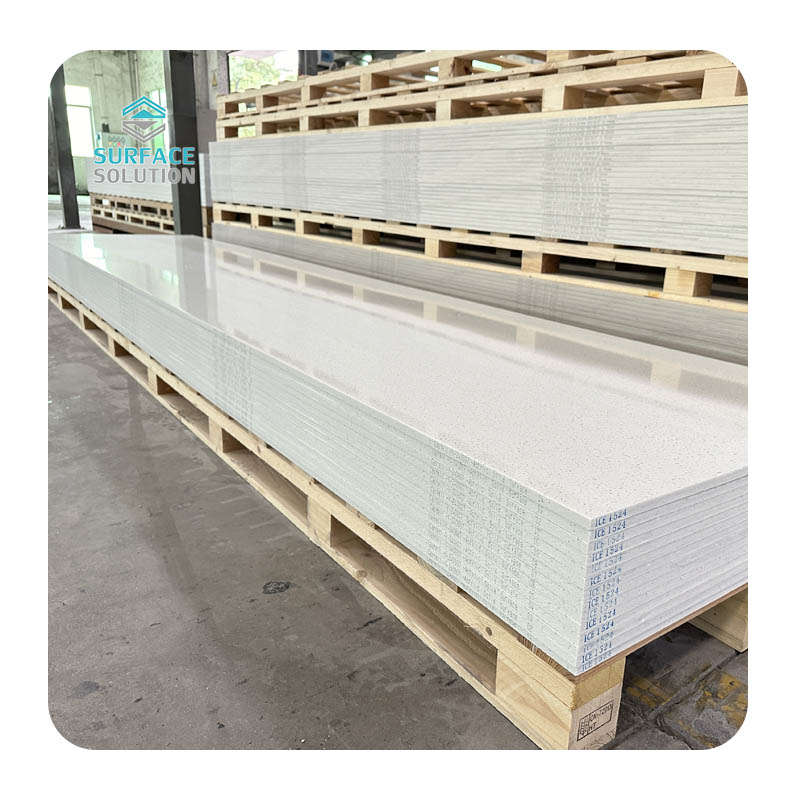
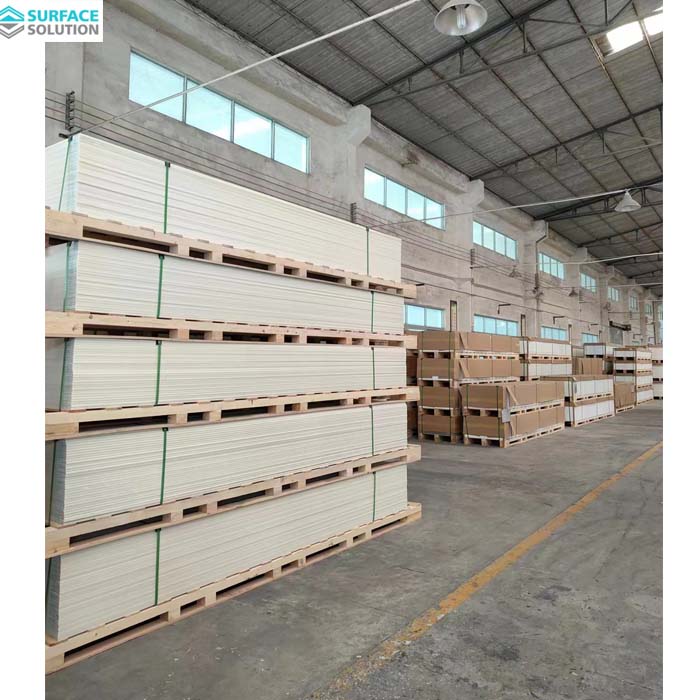 White acrylic solid surface remains a top-selling option for distributors, wholesalers and project contractors, widely specified for kitchen countertops, bathroom vanities, hotel vanity tops, commercial reception counters and custom tabletops. A common question from your downstream buyers is straigh
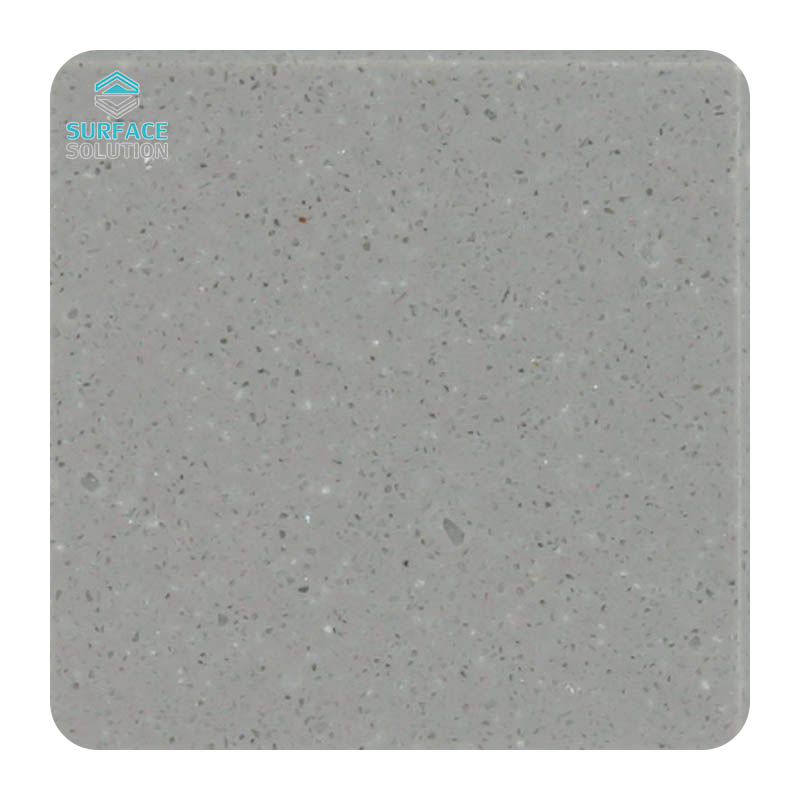 When renovating kitchens, bathrooms or commercial spaces, homeowners and designers often weigh different countertop materials. Acrylic solid surface is one of the most popular options, but a common question remains: is it durable enough for everyday use?Acrylic solid surface countertops are manufact
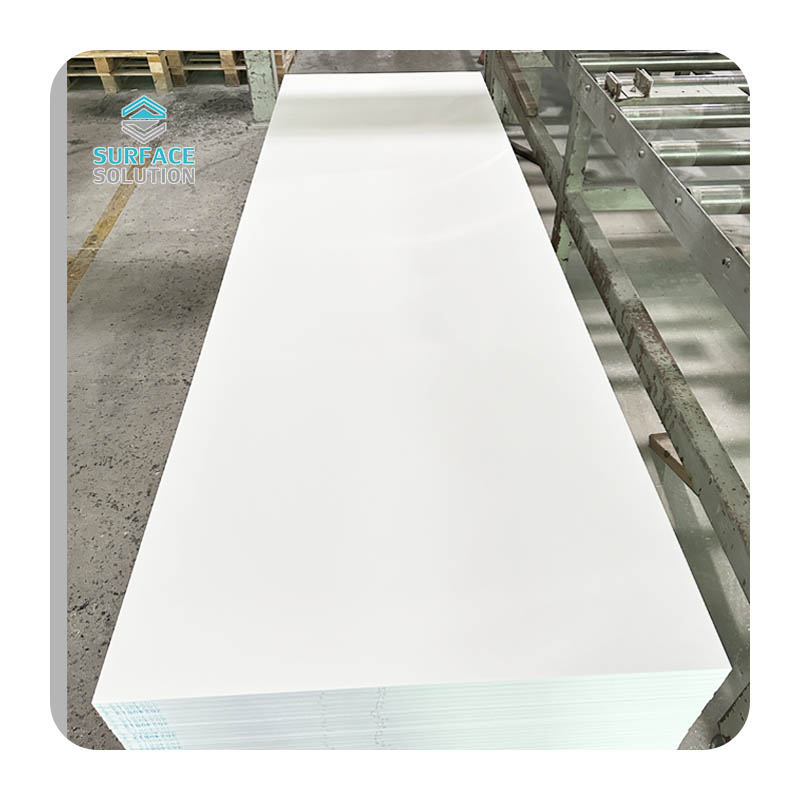 Acrylic solid surface is a premium engineered composite material widely used for kitchen countertops, vanity tops, wall panels, custom furniture and commercial interior projects. Many people confuse it with pure acrylic sheet or natural marble, but it is a carefully formulated blend of mineral powde
 Kitchens and bathrooms are the most frequently used and easily worn spaces in residential and commercial buildings, where countertops face constant spills, moisture, friction, and daily stains. Compared with traditional materials such as natural marble, granite, quartz stone, and laminate, acrylic s


